User Guide
Working with Data Watcher
Data Watcher helps you keep track of where your data is being kept, collecting file and folder activity to help identify unauthorized or abnormal behavior, identify sensitive data at its creation, and report on events and incidents to sensitive data. It's important to remember:
-
Watchers continuously monitor your chosen locations for selected sensitive data.
-
You can create Incident Definitions (rules) to help you manage your Incidents. See Working with Activities for more information.
-
Based on Incident Definitions, it creates Incidents for your review and act on, including resolving the Incident following your set Definitions. See Working with Activity Watchers for more information.
Expand a section for more information:
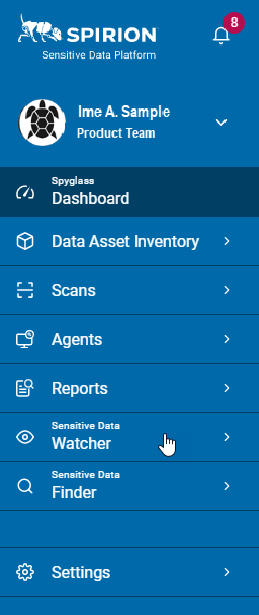
1. From the left menu, click Sensitive Data Watcher.
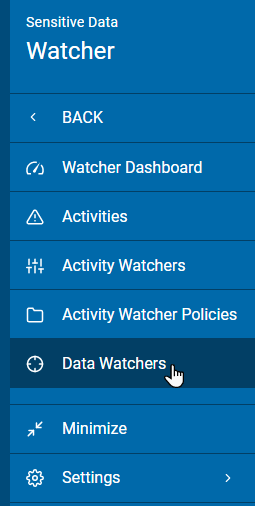
2. Click Data Watchers.
3. Data Watchers results are displayed in a table sorted by:
-
Watcher Scan Name
-
Status
-
Number of Agents/Targets
-
Last Triggered
-
More options
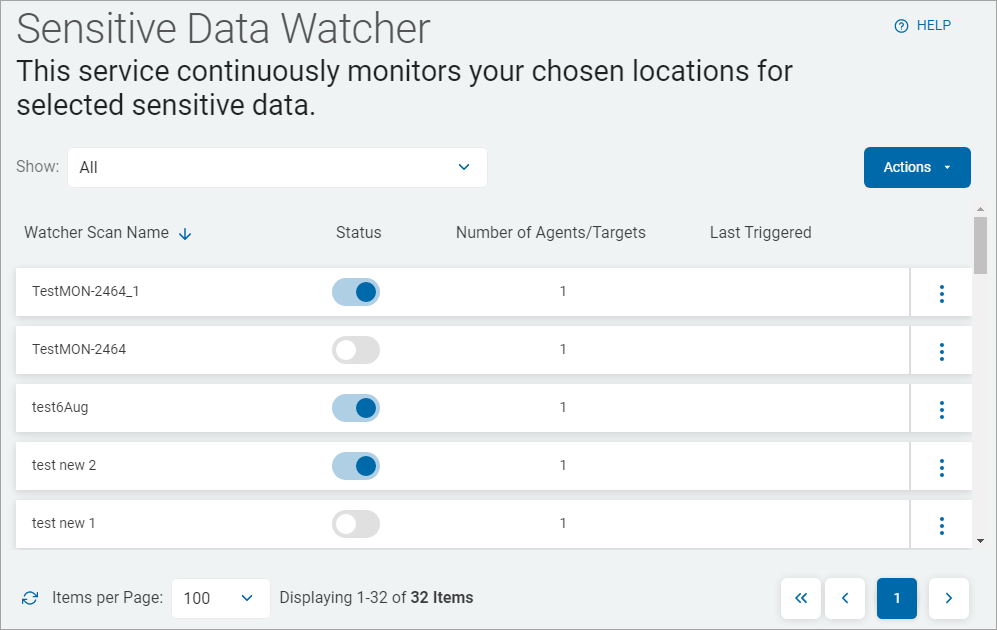
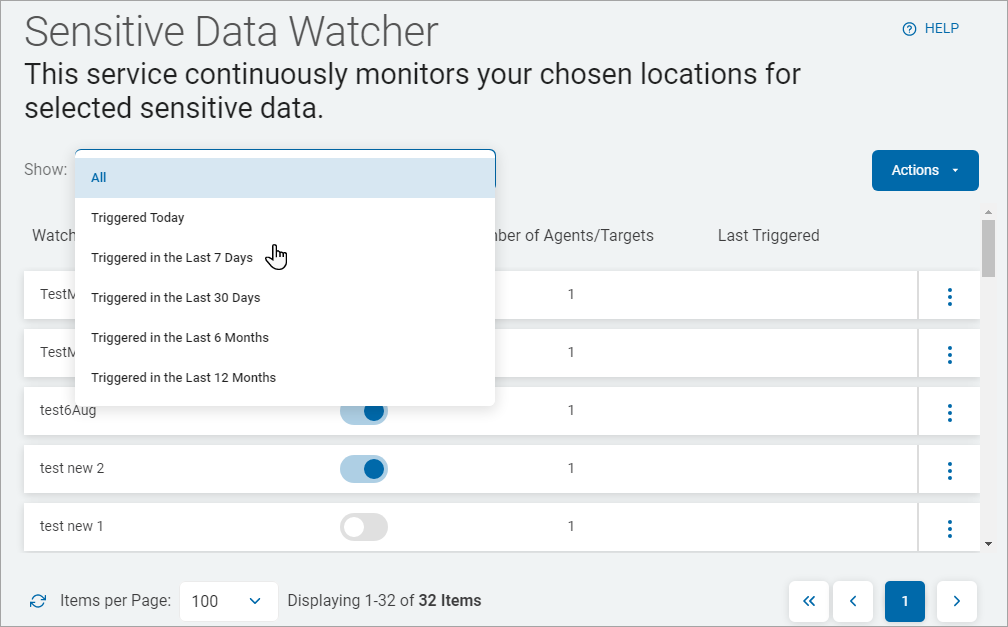
4. To filter by Triggered Date, select an option from the Show drop-down list.
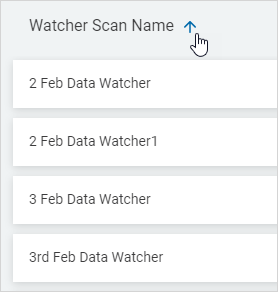
5. Click a column to sort ascending.
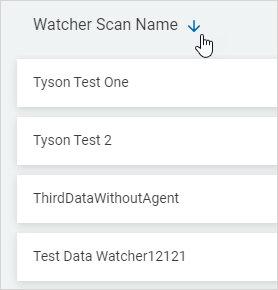
6. Click the column again to sort descending.
1. From the top right, click Actions.
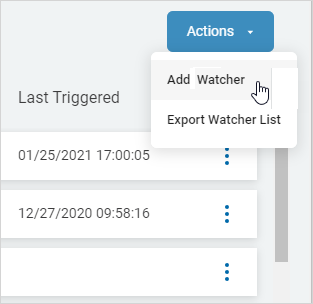
2. Select Add Watcher from the drop-down list.
3. On the Name tab, fill in the following
a. Name (maximum 50 characters)
b. Description (maximum 250 characters)
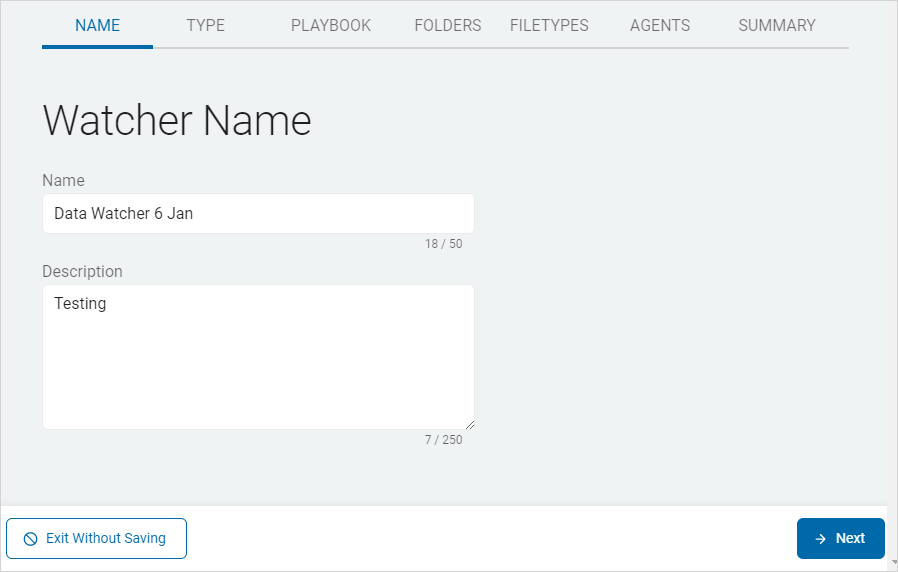
4. Click Next to proceed or Exit Without Saving to discard.
5. On the Type tab, select a Watcher Type:
-
Email
-
Folder
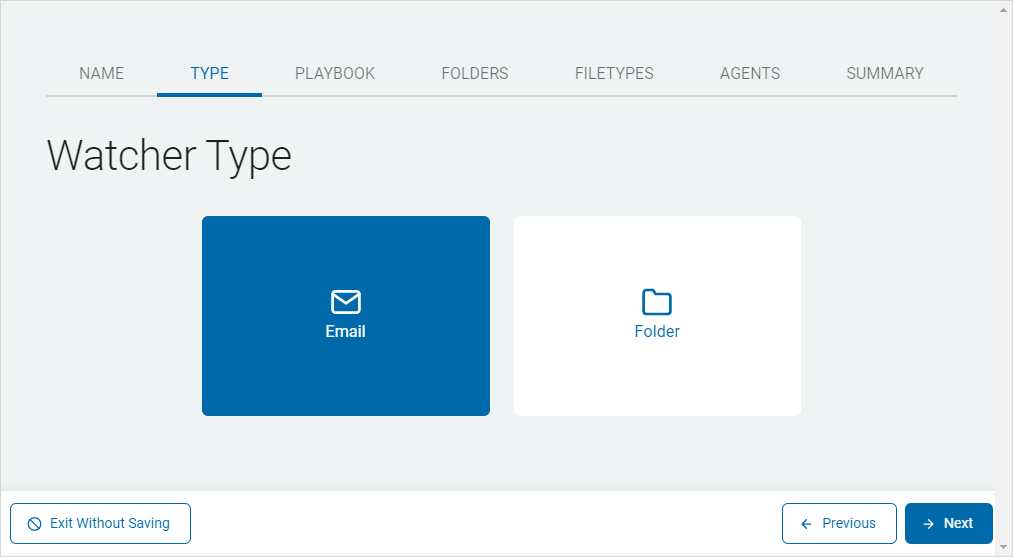
6. Click Next to proceed or Exit Without Saving to discard.
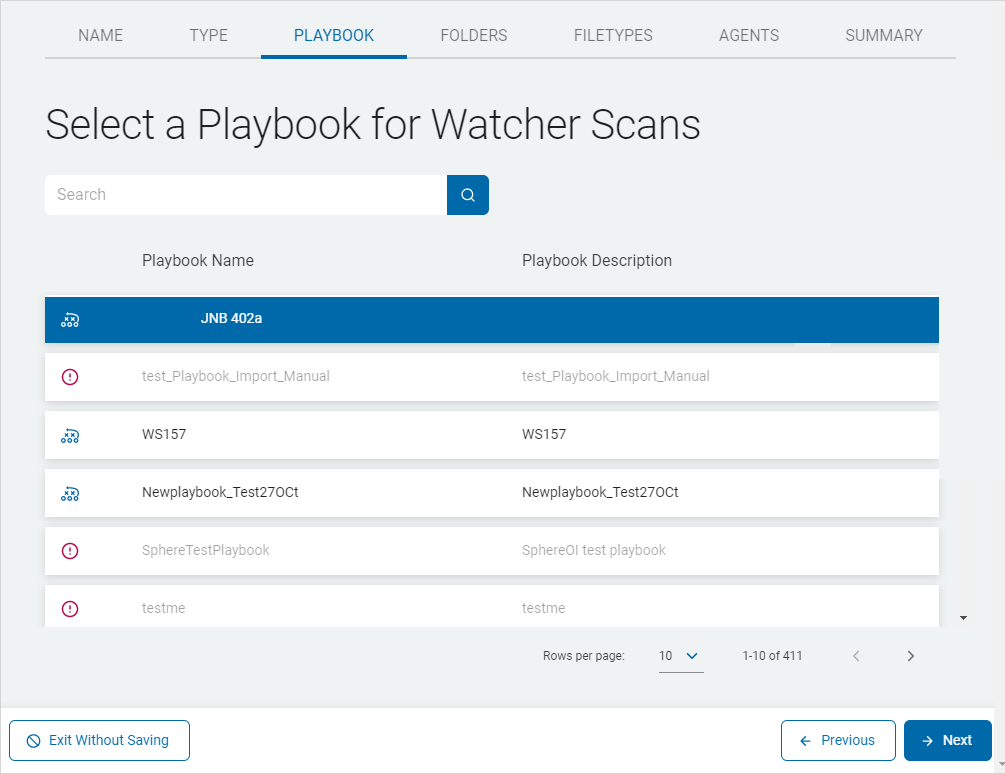
7. On the Playbook tab, do one of the following to add a playbook:
-
Click a displayed playbook
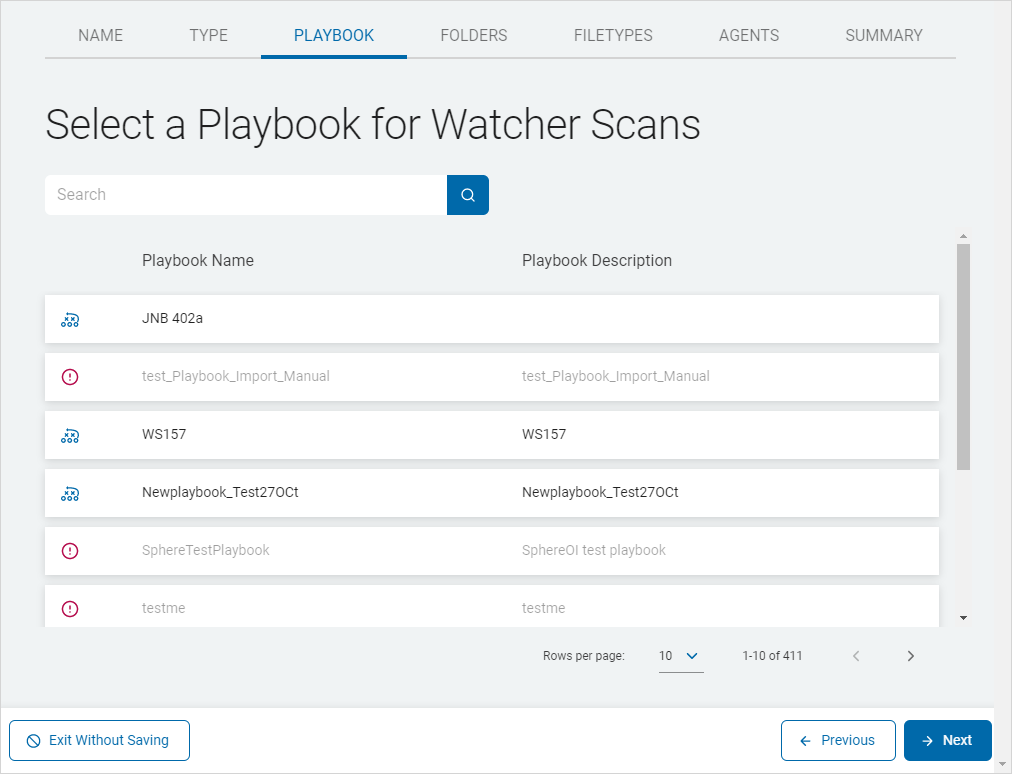
-
To search for a specific playbook, type the criteria the search box and the results are displayed in the table below.
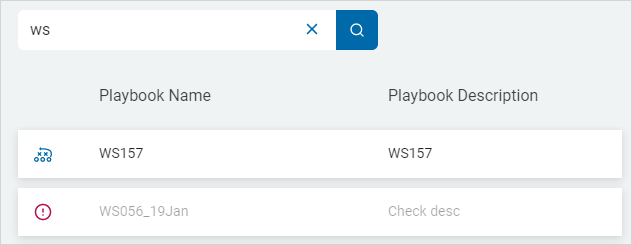
8. Click Next to proceed or Exit Without Saving to discard.
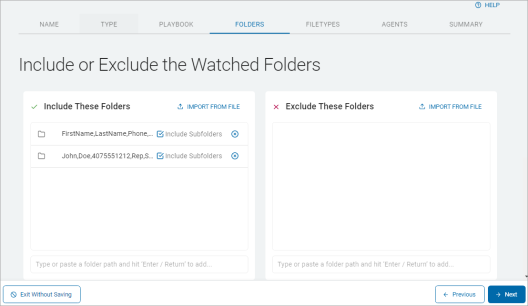
9. On the Folders tab, do the following:
a. In the Include These Folders section, add a folder by:
1) Type or paste a folder path in the box and click Enter on your keyboard, else
2) Click Import From File (![]() ) and add from your local computer.
) and add from your local computer.
b. In the Exclude These Folders section, exclude a folder by:
1) Type or paste a folder path in the box and click Enter on your keyboard, else
2) Click Import From File (![]() ) and add from your local computer.
) and add from your local computer.
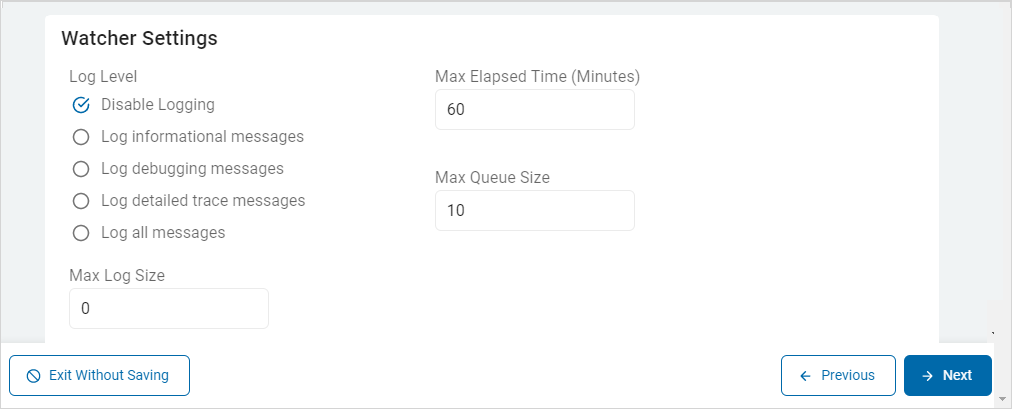
c. In the Watchers Settings section, do the following:
The Watcher Settings section display the following fields when Email is selected as a watcher type.
1) Select a Log Level:
Disable Logging
Log informational messages
Log debugging messages
Log all messages
2) In the Max Log Size box, type the maximum log file size.
3) In the Max Elapsed Time (Minutes) box, type the maximum allowed elapsed time.
4) In the Max Queue Size box, type the maximum allowed size of a queue.
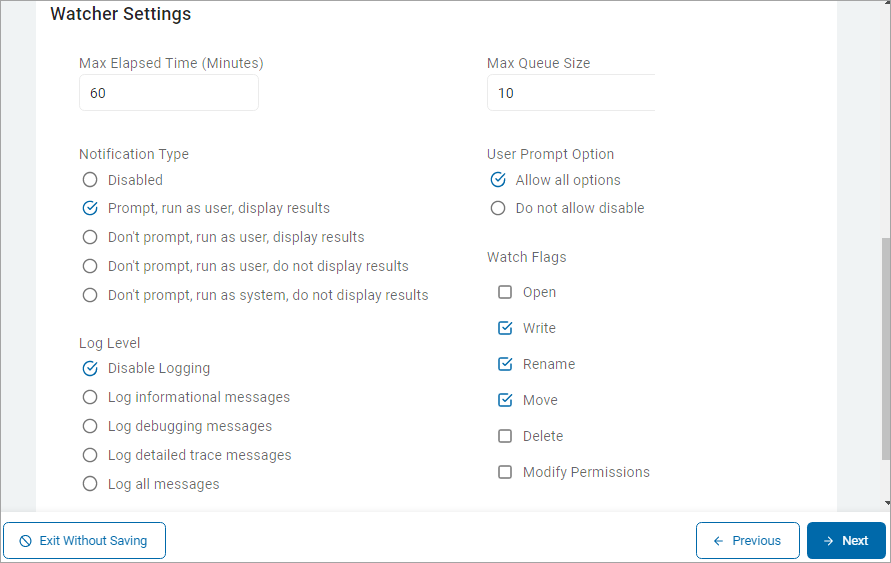
The Watcher Settings section display the following fields when folder is selected as a watcher type.
1) In the Max Elapsed Time (Minutes) box, type the maximum allowed elapsed time.
2) In the Max Log Size box, type the maximum log file size.
3) In the Notification Type, select any one:
Disabled
Prompt, run as user, display results
Don't prompt, run as user, display results
Don't prompt, run as user, do not display results
Don't prompt, run as system, do not display results
4) In the User Prompt Option, select any one:
Allow all options
Do not allow disable
5) In the Max Queue Size box, type the maximum allowed size of a queue.
6) In the Watch Flags, select one or more permissions:
Open
Write
Rename
Move
Delete
Modify Permissions
10. Click Next to proceed or Exit Without Saving to discard.
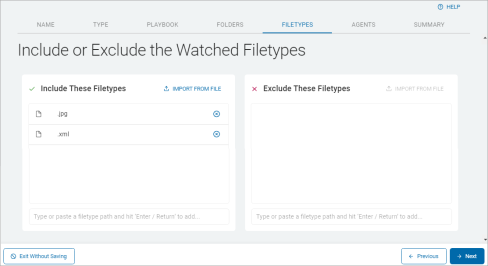
11. On the File Types tab, fill in each section.
a. In the Include These Filetypes section:
1) Type or paste a folder path in the box and click Enter on your keyboard, else
2) Click Import From File (![]() ) and add from your local computer.
) and add from your local computer.
b. In the Exclude These Folders section,
1) Type or paste a folder path in the box and click Enter on your keyboard, else
2) Click Import From File (![]() ) and add from your local computer.
) and add from your local computer.
12. Click Next to proceed or Exit Without Saving to discard.
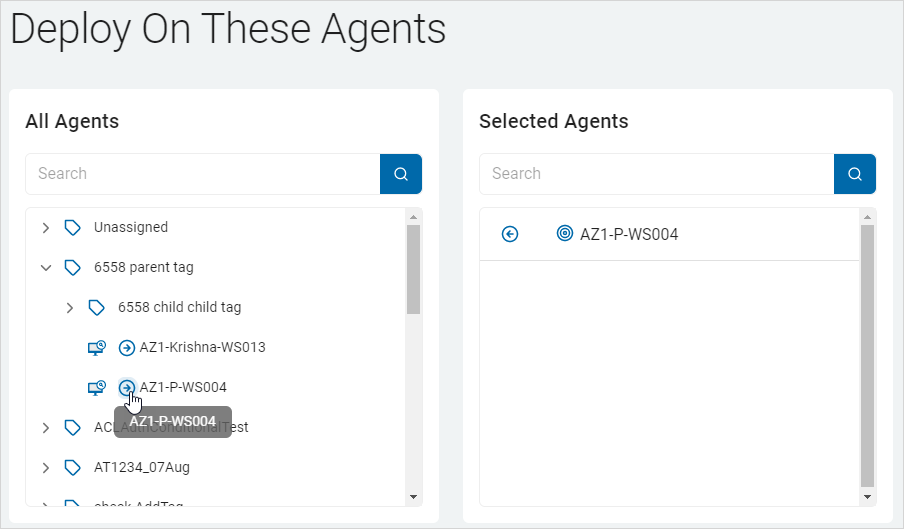
13. On the Agents tab, to deploy Agents:
a. Add an Agent:
1) Click a down arrow ( ) to display available tags.
2) Click a right arrow circle (![]() ) to add an endpoint to the Select Endpoints section.
) to add an endpoint to the Select Endpoints section.
3) Click a left arrow circle (![]() ) to remove an endpoint.
) to remove an endpoint.
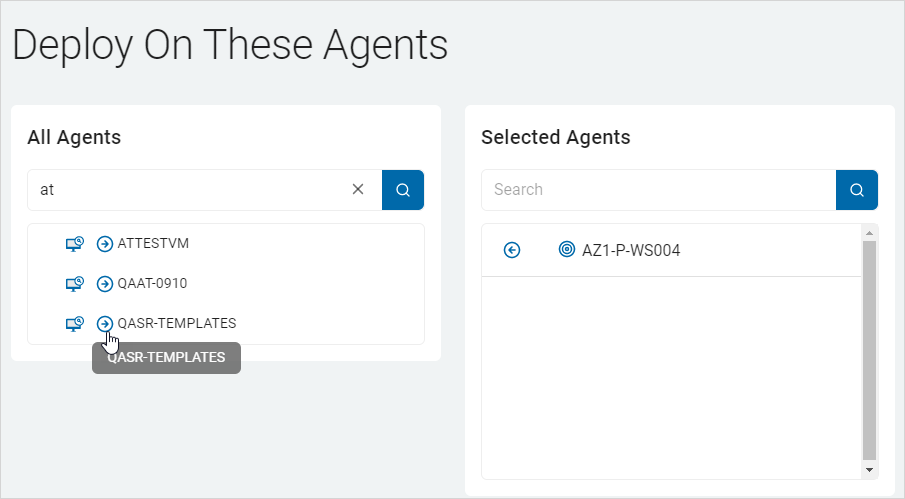
b. Search for a specific Agent to add:
1) Type the name in the search box and click the white search lens ( ).
).
2) Click a right arrow circle (![]() ) to add an endpoint to the Select Endpoints section.
) to add an endpoint to the Select Endpoints section.
3) Click a left arrow circle (![]() ) to remove an endpoint.
) to remove an endpoint.
14. Click Next to proceed or Exit Without Saving to discard.
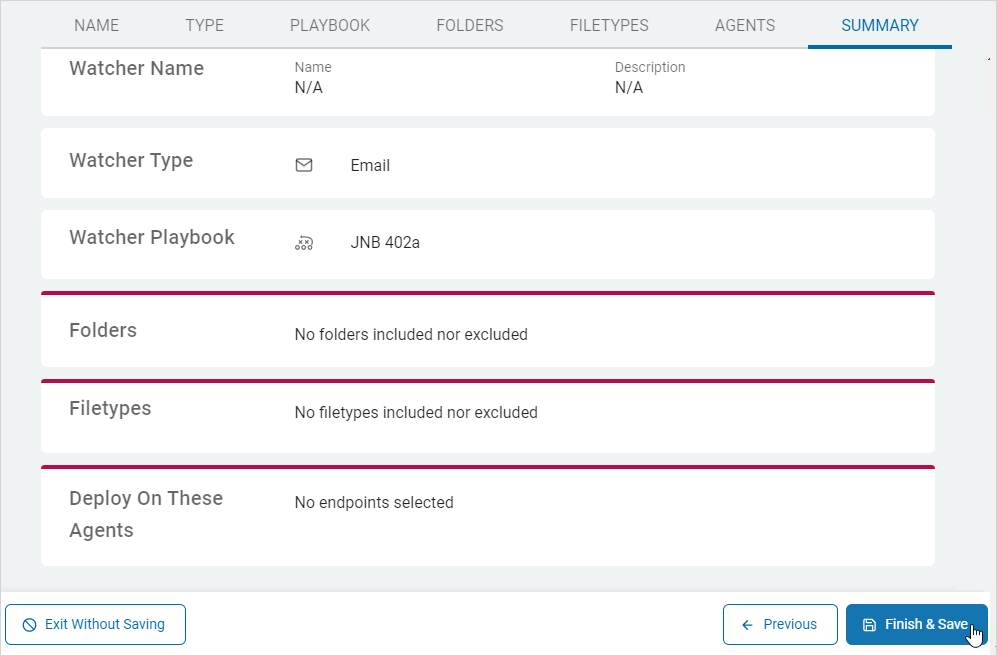
15. On the Summary tab, review your choices. Click a tab or section to navigate to the section to make changes.
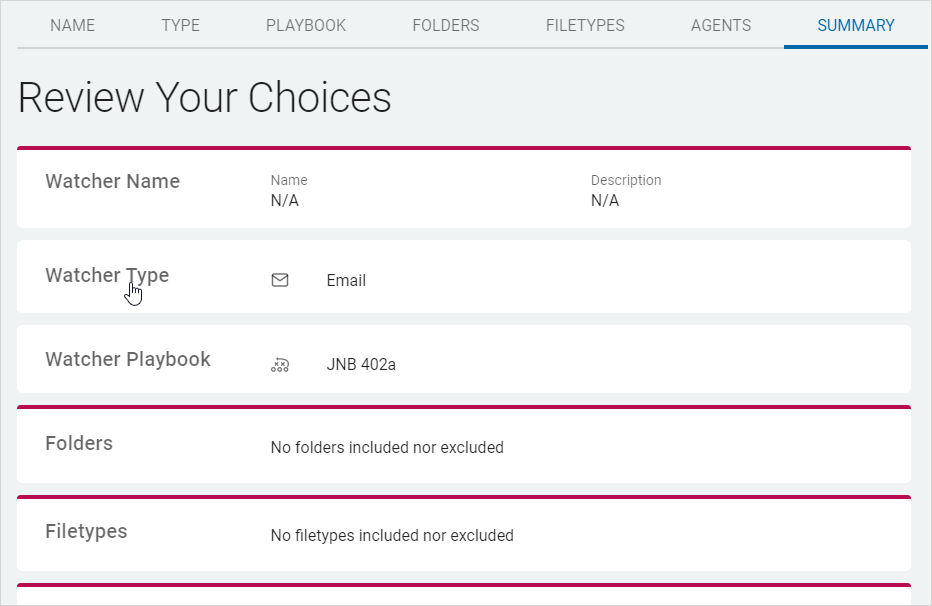
16. Click Finish & Save to save, Previous to return to the previous screen, or Exit Without Saving to discard.
1. From the top right, click Actions.
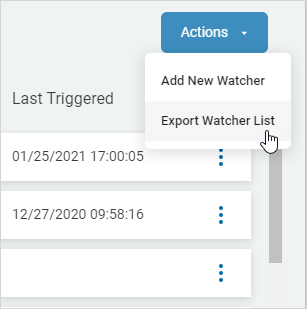
2. Select Export Watcher List from the drop-down list.
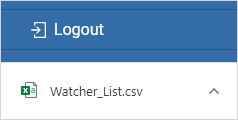
3. The watcher list .csv file is exported to your local computer.
To edit a Watcher:
1. Locate a scan in the in the Watcher table.
2. In the far right column, click the more options menu.
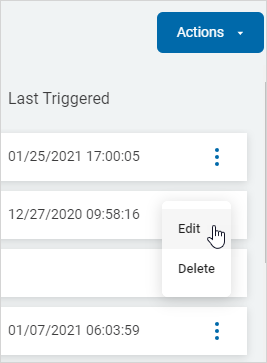
3. Click Edit from the drop-down list.
4. Make needed changes and save.
5. See Add a New Watcher for more information.
To delete a Watcher:
1. Locate a scan in the Watcher table.
2. In the far right column, click the more options menu.
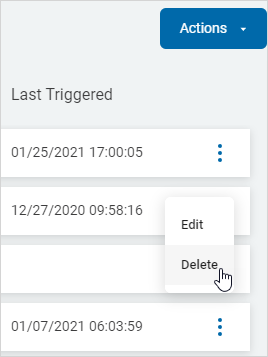
3. Click Delete from the drop-down list.
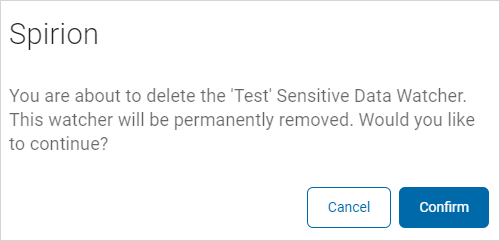
4. Click Confirm to confirm the delete or Cancel to discard.
