User Guide
Sensitive Data Finder Settings
Overview
Sensitive Data Finder Settings is where you manage your settings for:
-
Subject Request Data Types including PII (Personally Identifiable Data) Data Types
-
Data Inventory
-
Disclosure and Response Templates
Access and View Scan Settings
To access the Finder Settings screen:
-
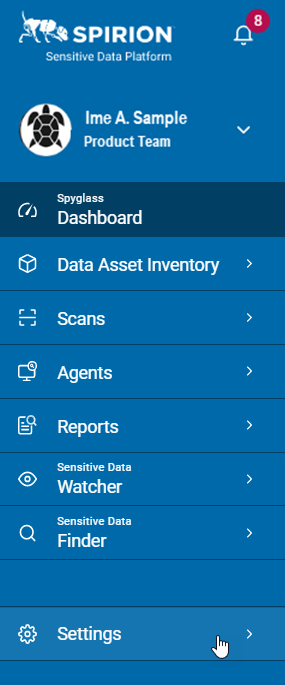
From the left menu, click Settings.
-
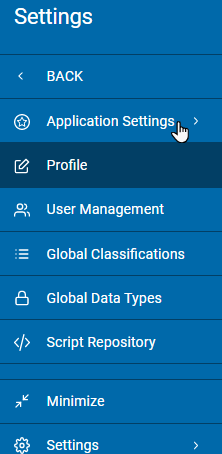
Click Application Settings.
-
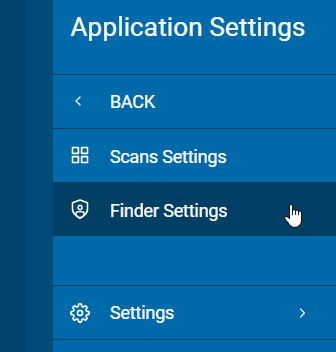
Click Finder Settings.
-
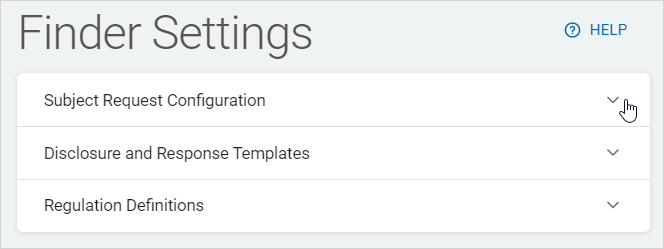
Click a down arrow to expand a section:
-
Subject Request Configuration
-
Disclosure and Response Templates
-
Regulations Definitions
-
Manage Subject Request Configurations
Procedure:
-
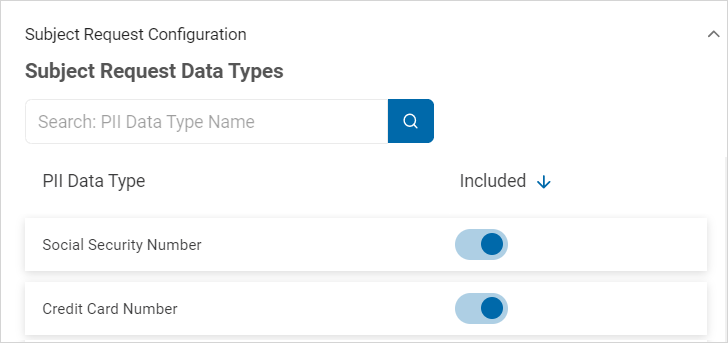
Expand out the Subject Request Configuration section.
-
Do one of the following:
-
Locate the PII Data Type you want to include or exclude in the list.
-
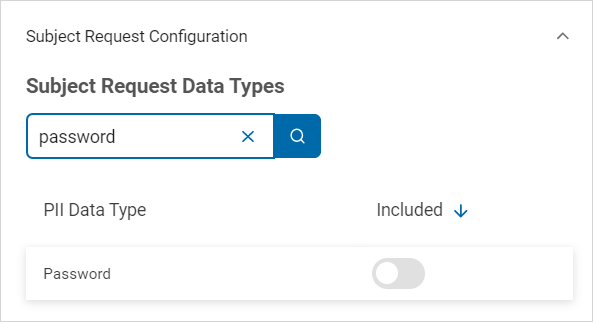
Type the PII Data type in the search box and the results are displayed in the list below.
-
-
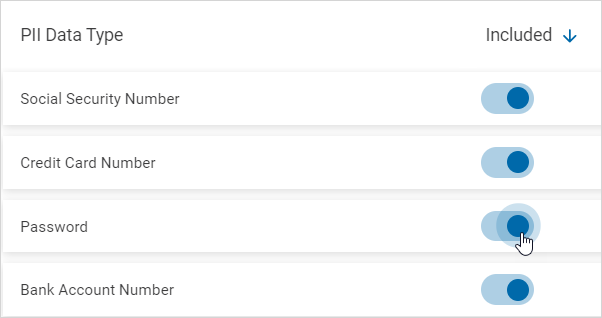
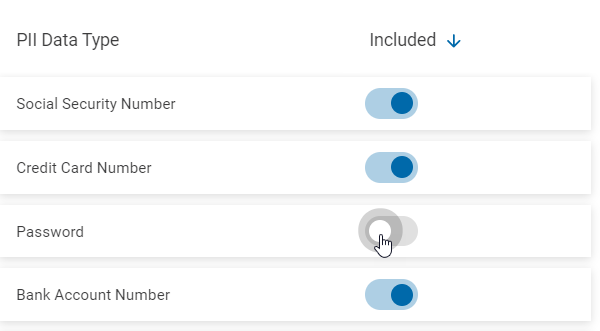
Use the toggle in the Included column to include or exclude a data type:
-
Include a data type:
-
Exclude a data type:
-
-
A toast message will appear to confirm the inclusion or exclusion of the data type.

Manage Disclosure and Response Templates
Procedure:
-
Expand out the Disclosure and Response Templates section.
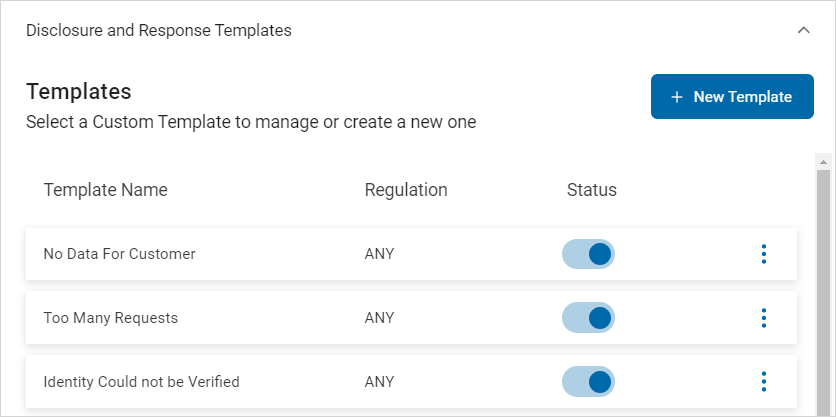
Do any of the following:
Manage a Template
Procedure:
-
Locate the template you want to manage in the list.
-
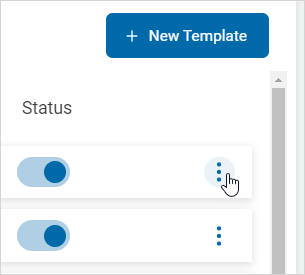
On the far right of the row, click the more options menu.
-
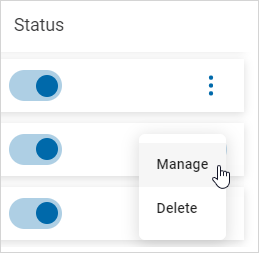
Click Manage.
-
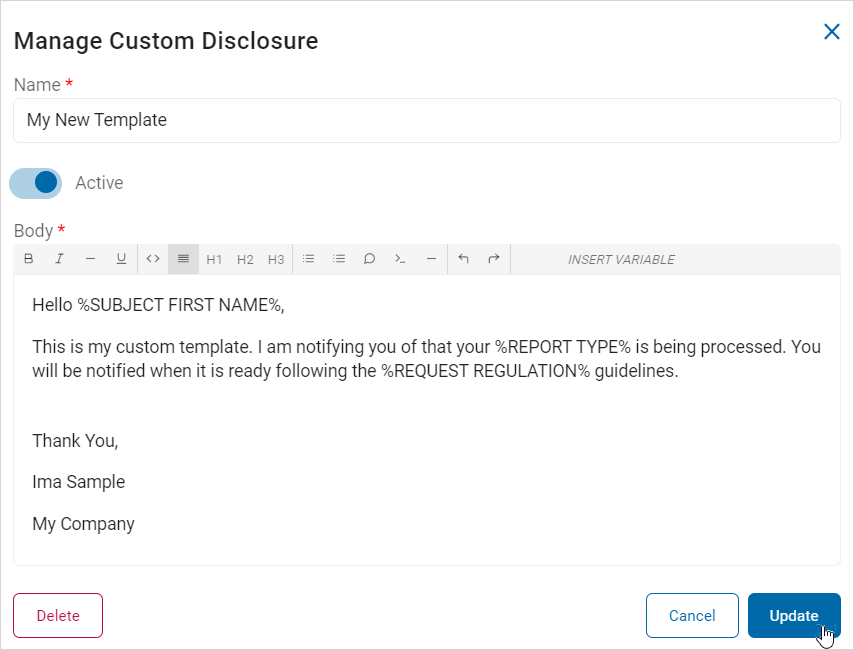
In the Manage Custom Disclosure pop-up window, make needed changes.
-
Click Update to save changes or Cancel to discard.
Note: You can delete a template from the Manage Template screen using the Delete button. This action is immediate and there is no undo function.
Create a New Template
Procedure:
-
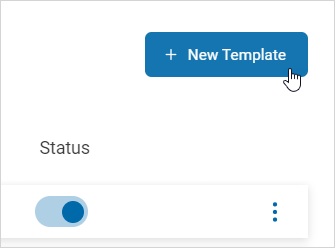
Click + New Template.
-
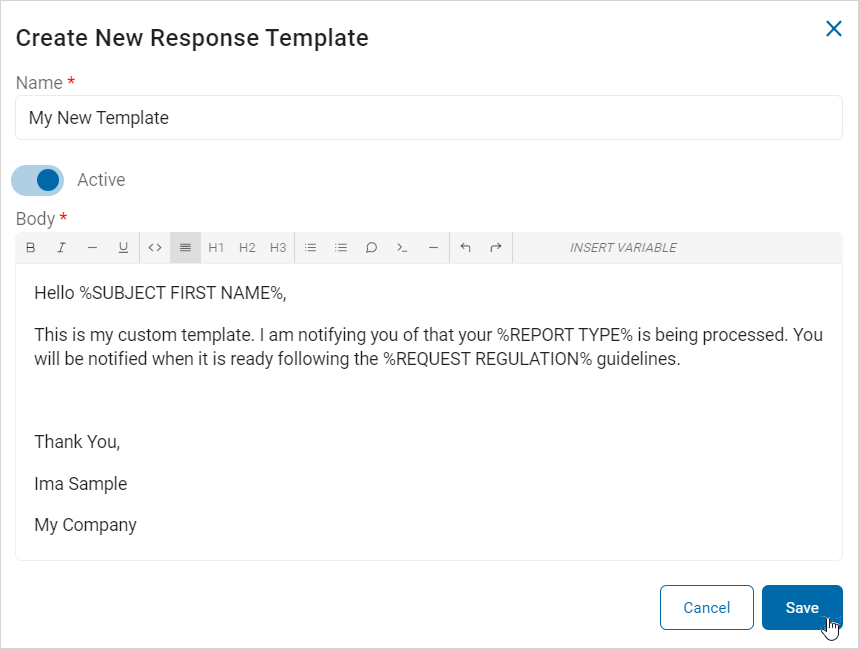
In the Create New Response Template pop-up window, fill in the following:

-
Name: Type the name of the new Template (required).
-
Slide the Active toggle to the right to deploy the new Template.
-
You can always deploy it later.
-
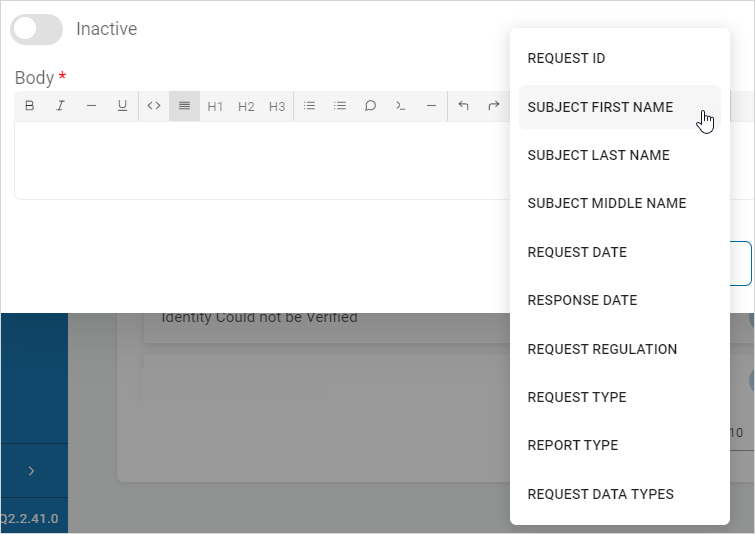
In the Body section, type the contents of the new Template.
-
You can use the edit toolbar and Insert Variable features to write the new Template.
-
-
Click Save to save the new Template or Cancel to discard.
Delete a Template
Procedure:
-
Locate the template you want to delete in the list.
-
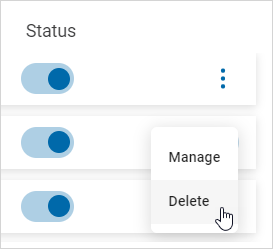
On the far right of the row, click the more options menu.

-
Click Delete.
-
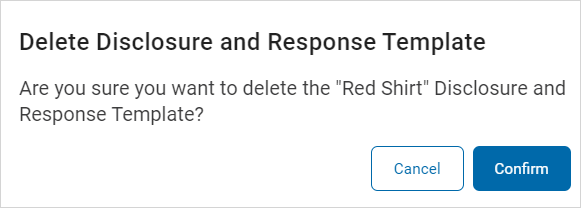
Click Confirm to delete or Cancel to discard.
Manage Regulations Definitions
-
Expand out the Regulations Definitions section.
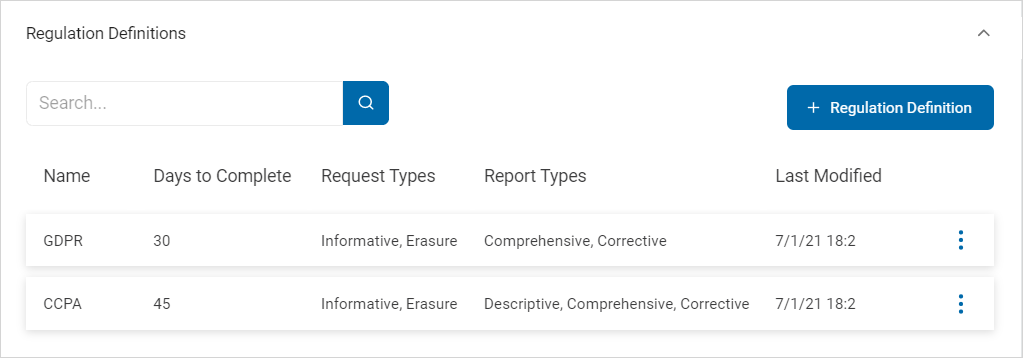
Do any of the following:
Manage a Regulations Definition
Procedure:
-
Locate the regulation you want to manage in the list.
-
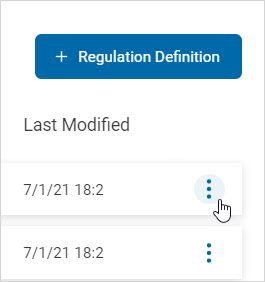
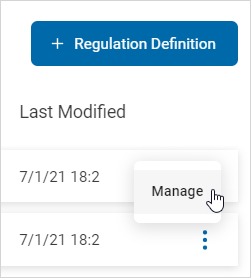
On the far right of the row, click the more options menu.
-
Click Manage.
-
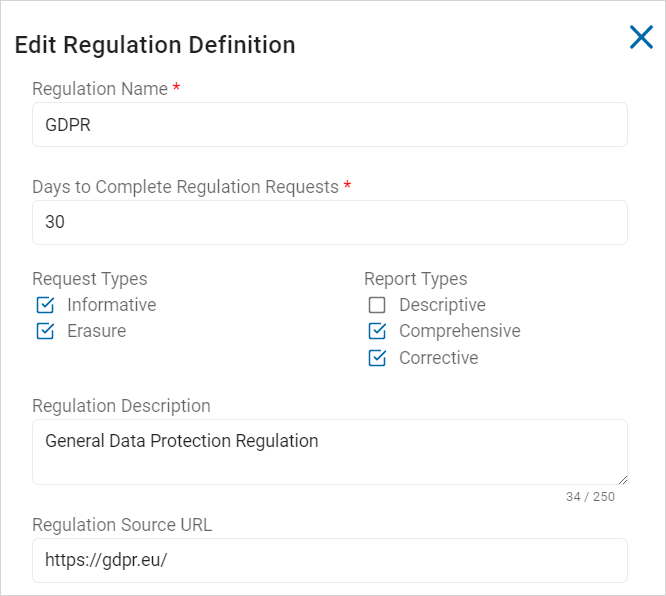
In the Edit Regulation Definition pop-up window, made needed changes.
-
Click Save and Add to save or Cancel to discard.
Create a Regulation Definition
Procedure:
-
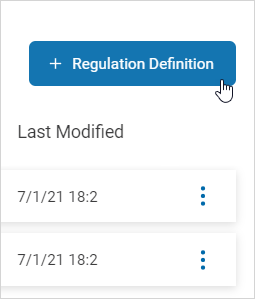
Click + Regulation Definition.
-
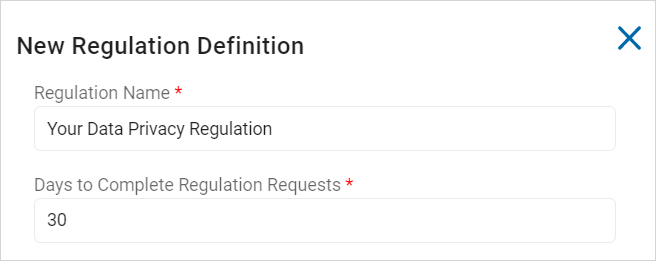
In the New Regulation Definition pop-up window, do the following:
-
Regulation Name: Type the name of the regulation.
-
Days to Complete Regulation Request: Type the number of days to comply with the regulation.
-
-
New Regulation Definition: Select all applicable Request and Report Types.
-
Request Types:
-
Informative
-
Erasure
-
-
Report Types:
-
Descriptive
-
Comprehensive
-
Corrective

-
-
-
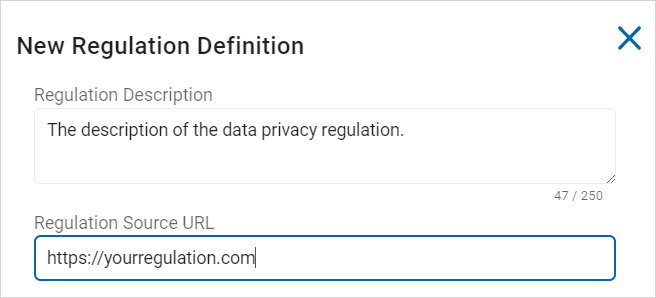
Regulation Description: Type a short description of the regulation.
-
Regulation Source URL: Type the link to the regulation.
-
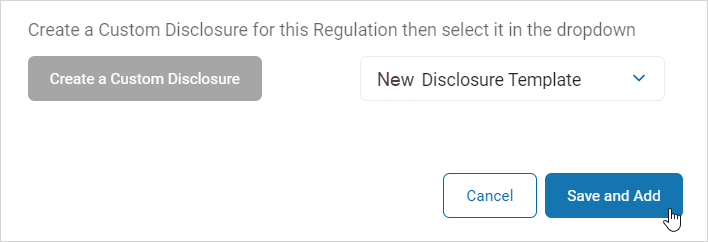
Click Create a Custom Disclosure.

-
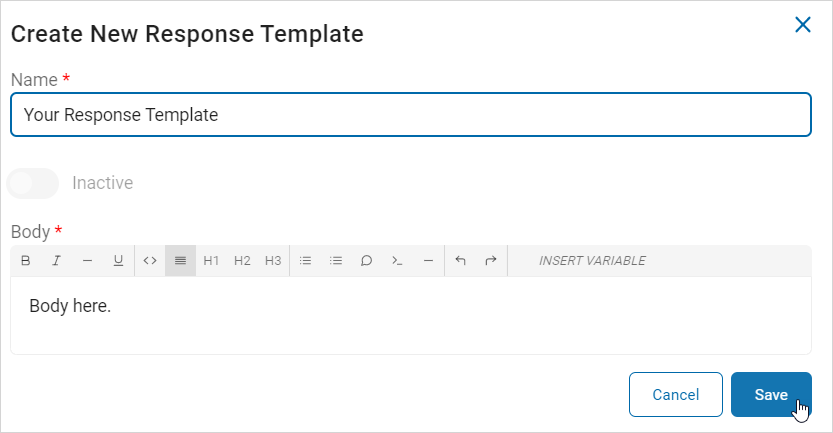
In the Create New Response Template pop-up window, do the following:
-
Name: Type the name of the new template.
-
Body: Use the edit window to compose the body of the new template.
-
-
Click Save to save the new template or Cancel to discard.
-
Select the new template from the regulation drop-down list.

-
Click Save and Add to save the new definition or Cancel to discard.
