User Guide
Tag Management
Overview
A Tag is a kind of container which holds a group of Targets (for example, Marketing Laptops, Windows Servers, HR Databases, etc.) for the purpose of scanning those Targets.
Tag Types
There are three types of Tags:
-
IP Range: Includes Agents and Targets based on an IP range.
-
Manual: Includes Agents and Targets manually added to your tag.
-
Conditional: Includes Agents and Targets captured by a set of user-defined parameters.
Tag Examples
-
The Tag Marketing Laptops is a IP Range type Tag that includes a hundred employee laptops (associated machines)
-
The Tag HR Databases is a manual type Tag that includes databases used by the HR department: Oracle_holiday, SQL1, and MayDay2025
-
The Tag Cloud Sources is a manual type Tag that includes targets in the cloud: Box2021, S3_dev1, and GitHub2025
-
The Tag MacOS is a Conditional type Tag that captures targets (desktops, laptops, etc.) using the MacOS operating system. See the image below:

Expand a section for more information:
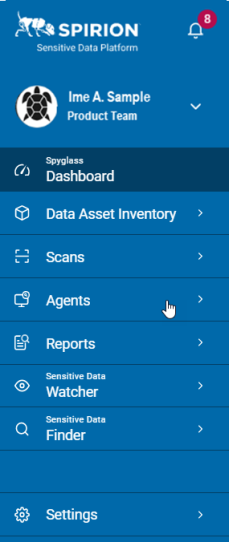
Access the Tag Management Screen
To access this screen:
-
From the left menu, click Agents.
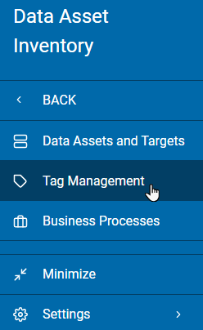
-
Click Tag Management.
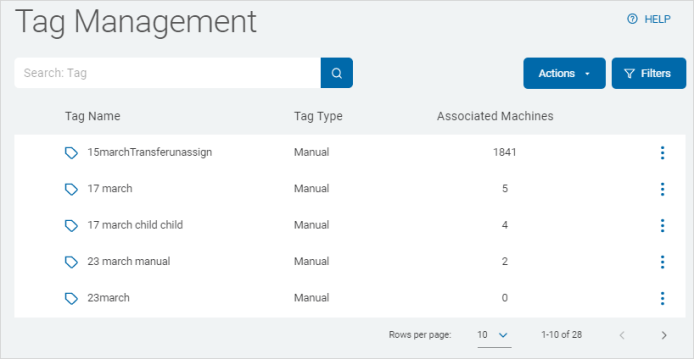
View Your Tags
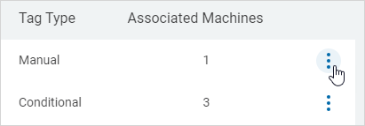
Tags are displayed in a table sorted by:
- Tag Name
- Tag Type
- Associated Machines
- More options
-
To sort, hover over the Tag Type or Associated Machines columns and click the up arrow (
 ) to sort ascending.
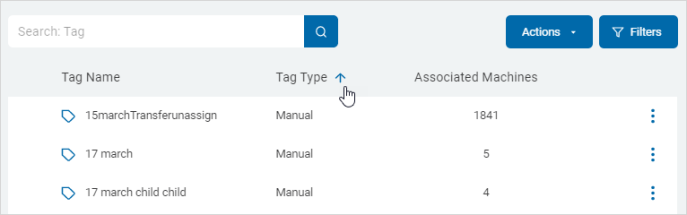
-
Click the down arrow (
 ) to sort descending.
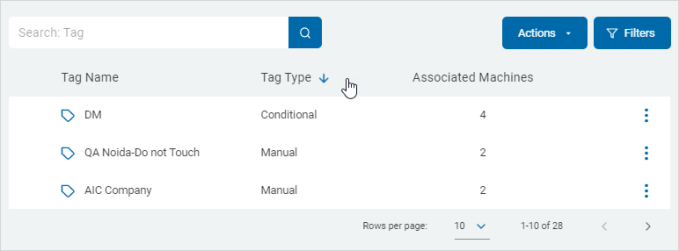
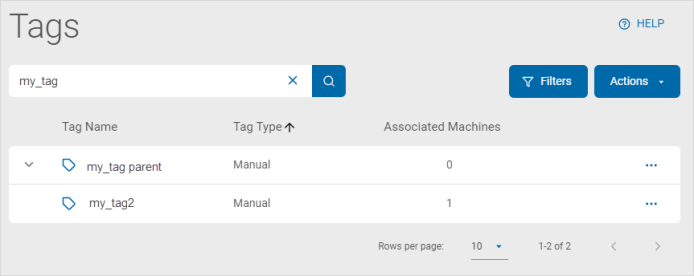
Search for a Tag
-
In the search box, type a tag name.

-
Click the lens icon (
 ) or click Enter on your keyboard.
 -
The search results are displayed in the table below.
-
To view child tags, click the down arrow (
 ) to expand and the up arrow (
 ) to close.
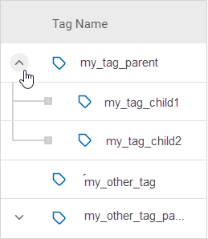
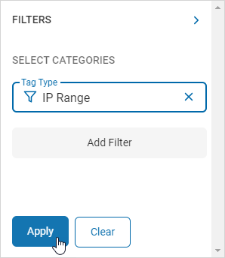
Using Filters to View Tags
Use the Filter feature to view results based on different criteria.
To search with filters:
-
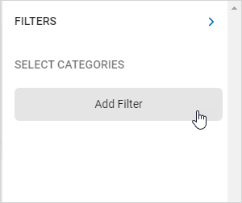
In the top right of the screen, click Filters.

-
Click Add Filter.
-
Click Select Filter.
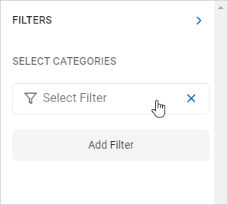
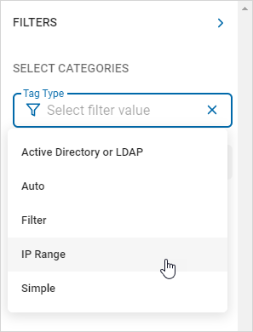
-
Select an option from the Categories drop-down list.

-
Select a value from the Select filter value drop-down list or use the numeric up-down control to set a value.
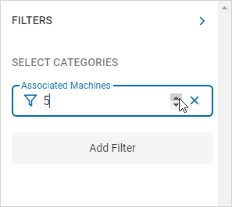
-
Click Applyto add the filter or Clear to remove.
The results are displayed in the Tag Management table.
-
To remove filters:
-
Click Filters.
-
Click Clear.
-
Click Apply.
-
Note: Adding multiple filters can extend the wait time for the search results.
Add a New Tag
There are three types of tags you can add:
-
IP Range
-
Manual Tag
-
Conditional Tag
Add an IP Range Tag
To add an IP Range tag:
-
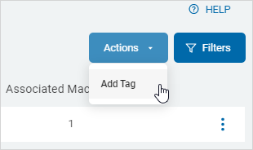
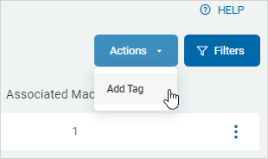
In the top right of the screen, click Actions.
-
Click Add Tag.
-
The Create New Tag pop-up window appears.
-
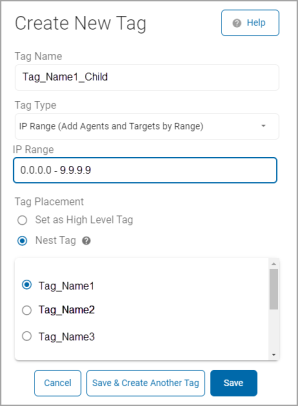
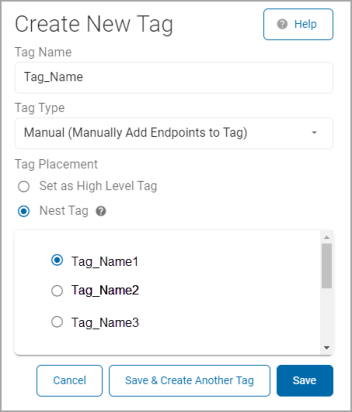
In the Create New Tap pop-up window, fill in the following:
-
a. Select IP Range from the Tag Type drop-down list.

-
b. IP Range: Type the IP range.
-
c. Tag Placement: Select one:
-
Set as High Level Tag
-
Nest Tag: Select a high level tag to create a child tag for.
-
-
d. Click Save to create the tag, Save & Create Another Tag to save this tag and create another, or Cancel to discard.
Add a Manual Tag
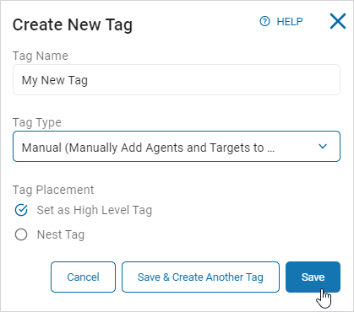
To add a Manual tag:
-
In the top right of the screen, click Actions.

-
Click Add Tag.
-
Tag Name: Type the tag name.
-
Select Manual from the Tag Type drop-down list.
-
-
In the Tag Placement section, select an option:
-
Set as High Level Tag
-
Nest Tag: Select a high level tag to create a child tag for.
-
Click Save to create the tag, Save & Create Another Tag to save this tag and create another, or Cancel to discard.
Add a Conditional Tag
To add a Conditional tag:
-
In the top right of the screen, click Actions.
-
Click Add Tag.
-
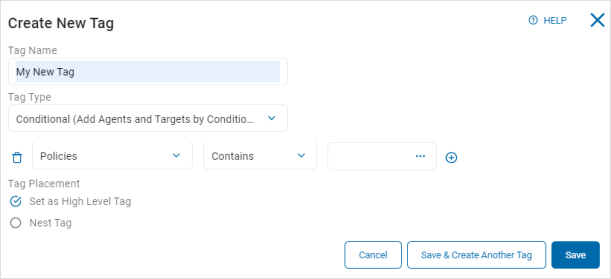
Type a name in the Tag Name box.
-
Select Conditional from the Tag Type drop-down list.
-
Select an option from the Action Type (left) drop-down list.

-
Select an option from the Operator (center) drop-down list.
The values available depend on the selection in the Action Type drop-down list.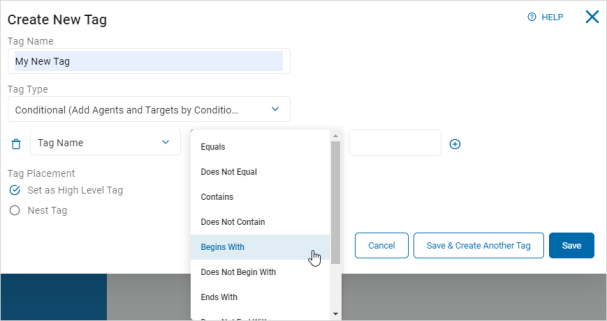
-
Type or choose a value in the Value Input (right) box.
The values available depend on the selection in the Action Type drop-down list.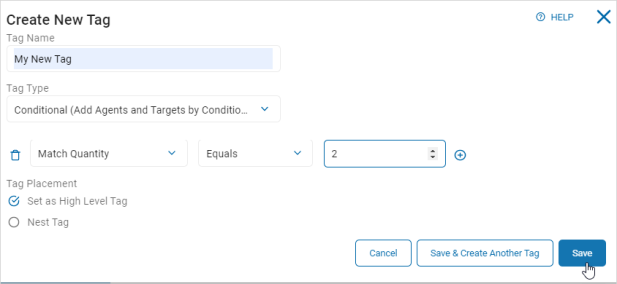
-
To add or remove conditions:
-
e. Click the Add icon (
 ) to add an additional group or value.
 -
f. Click the Remove icon (
 ) to delete a group or value.
 -
g. Click Save to save the tag, Save & Create Another Tag to save and create another tag, Cancel to discard.
-
The following are the options available for Conditional Tags:
| Action Type | Operator | Value Input |
|---|---|---|
|
ACL: Ace Type ACL: Authorization Client Activity State Platform Type Policies Tags |
Contains Does Not Contain Is Empty Is Not Empty |
Type a value in the text box |
|
ACL: Trustee Endpoint GUID Endpoint Name Endpoint Platform Endpoint Version MAC Address Match Quantity Number of Searches Protected Quantity Tag Name Unprotected Quantity |
Equals Does Not Equal Contains Does Not Contain Begins With Does Not Begin With End With Does Not End With Is Empty Is Not Empty |
Type a value in the text box |
|
Last Poll Time Search Date/Time |
1. Toggle the All Day switch ( 2. Click the Value Input box and click a date on the calendar. 3. Click the Set Time tab, and set the time of the scan (24 hour). 4. Click OK to set the time or Clear to discard. |
 )on or off, as applicable.
Edit a Tag
To edit a Tag:
-
In the Tag list, locate a tag you want to edit.
-
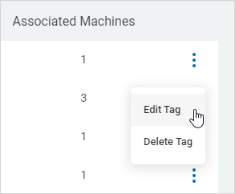
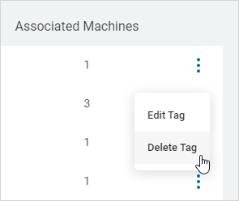
On the far right of the row, click the ellipse menu.
-
Select Edit Tag from the drop-down list.
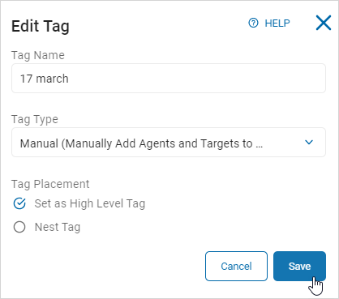
In the Edit Tag pop-up window, make changes to any of the following:
- Tag Name: Type a new tag name.
- Tag Type: Select an option from the drop-down list.
- IP Range: Delete the existing text and type a new range.
- Manual:
- Conditional: Delete existing conditions and input new conditions.
- Tag Placement: Select an option from the drop-down list:
- Set as a High Level Tag or Nest Tag
- Set as a High Level Tag or Nest Tag
-
Click Save to save or Cancel to discard.
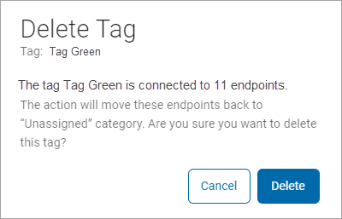
Delete a Tag
To delete a Tag:
-
1. In the Tag list, locate the tag you want to delete.
-
On the far right of the row, click the ellipse menu.

-
Click Delete Tag.
-
Click Delete to confirm deletion or Cancel to discard.