User Guide
How to Use Global Classifications
Overview
The Global Classifications page is where you manage your data Classifications.
-
Classifications are of a defined type and can also include colors and/or icons.
-
It displays a searchable list of existing Classifications, both built-in and custom.
You can perform the following actions:
-
Create a new Classification
-
Edit a Classification
-
Import Classifications
-
Export Classification
-
Delete a Classification
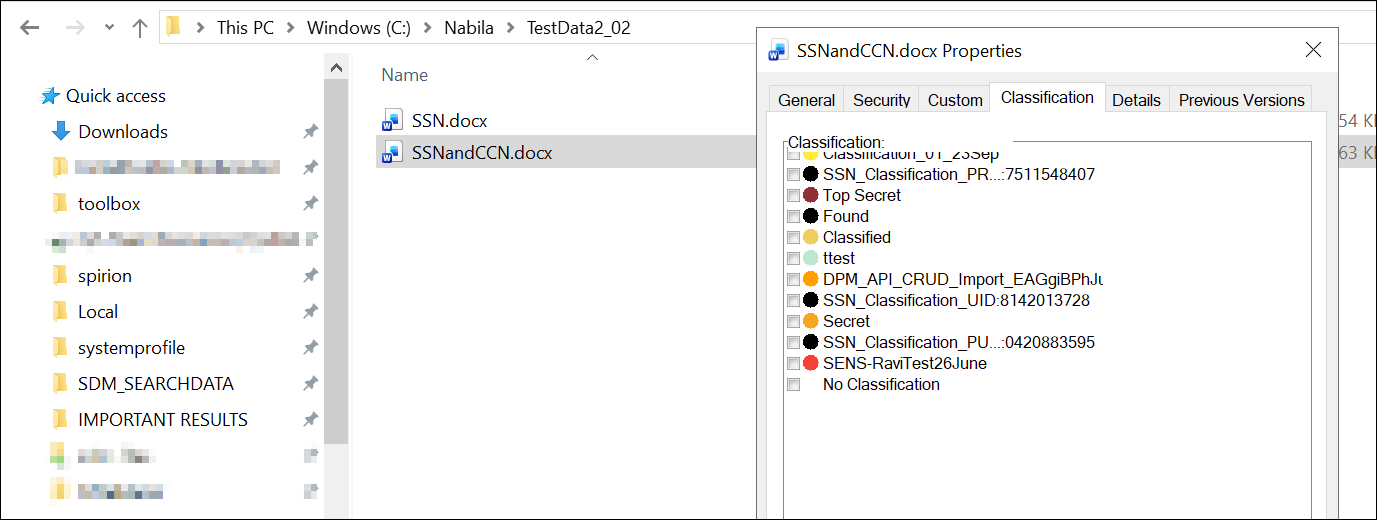
Note: Classifications don't show in Microsoft Windows File Explorer for files that are MPIP-protected.
Note: Classification duration (persistence) can vary by file type. For more information see Classification Persistence.
User Access and Global Classifications Page
User Access
-
Not all users can view and manage Global Classifications.
-
To view Global Classifications you must be a user who is a member of a role that contains the permission Manage Administrative Settings. See the screenshot below.
-
By default, the Admin role contains this permission.

To access the Global Classification page, use the following procedure:
-
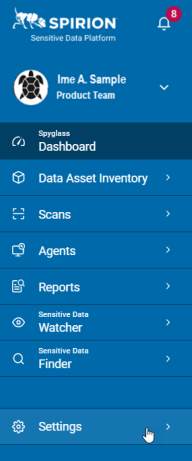
From the left menu, click Settings.
-
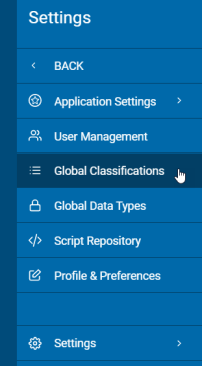
Click Global Classifications.
-
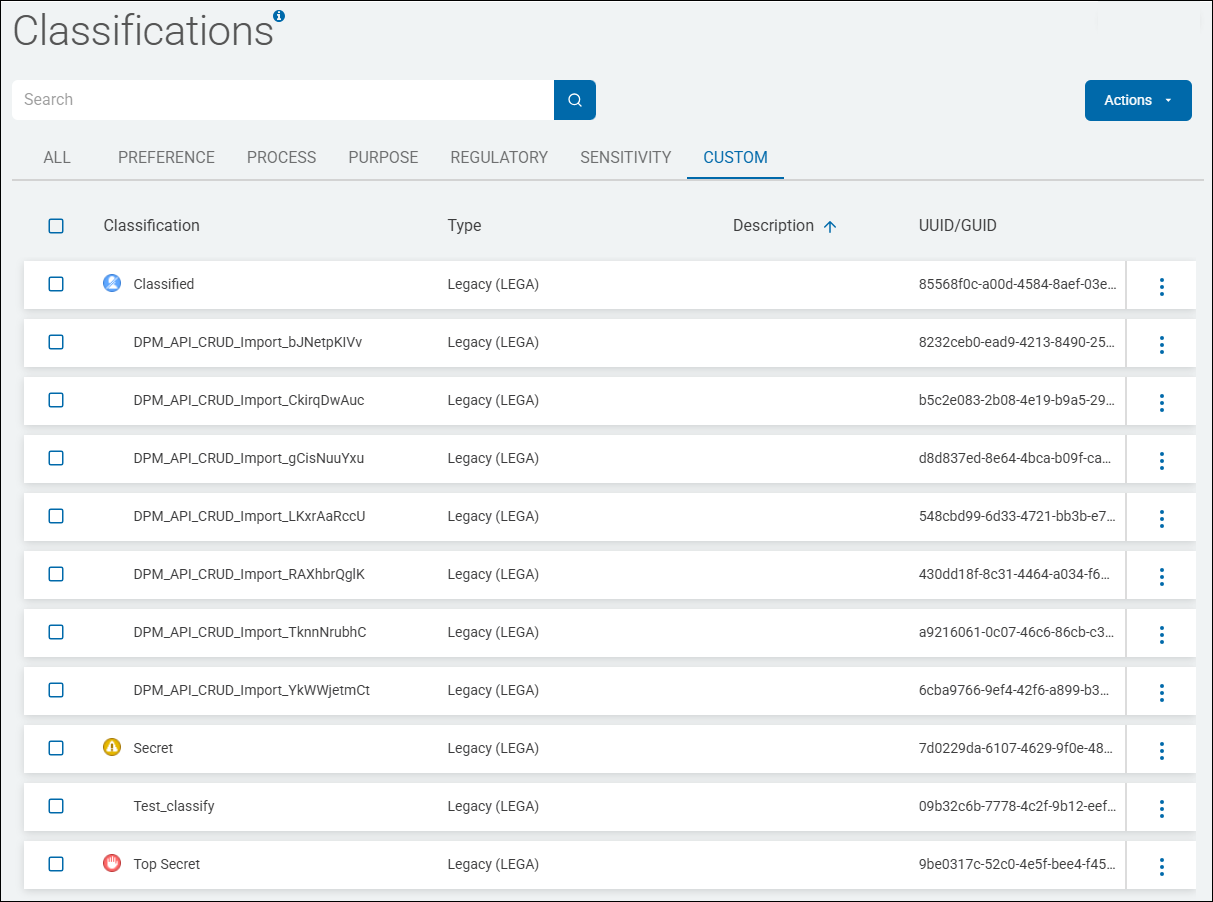
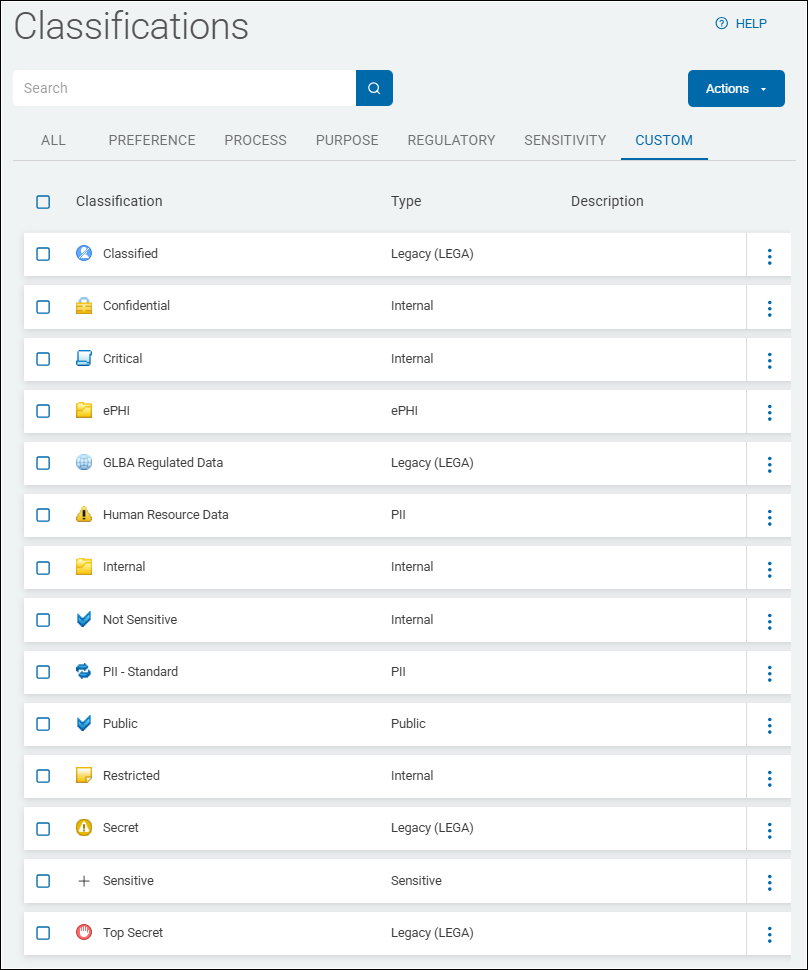
Classifications are displayed in a list sorted by columns (for examples, see Classification Type Examples below):
-
Assigned Icon - Identifying icon assigned to the Classification
-
Optional, unless SENS is selected, which requires Icon or Color.
-
-
Classification - Classification name
-
Type - Custom type or Spirion type. Treat this as a type of category to organize your classifications.
Example uses:
-
LEGA - Legacy
-
Legacy classification type in a database setting
-
Used in scenarios involving data import and export processes, particularly in relation to classifications within a system
-
Includes native types: Classified, Secret, Top Secret
-
-
PREF - Preference
-
Third party access restrictions of PII (No 3rd party Sell)
-
Protected Health Information
-
-
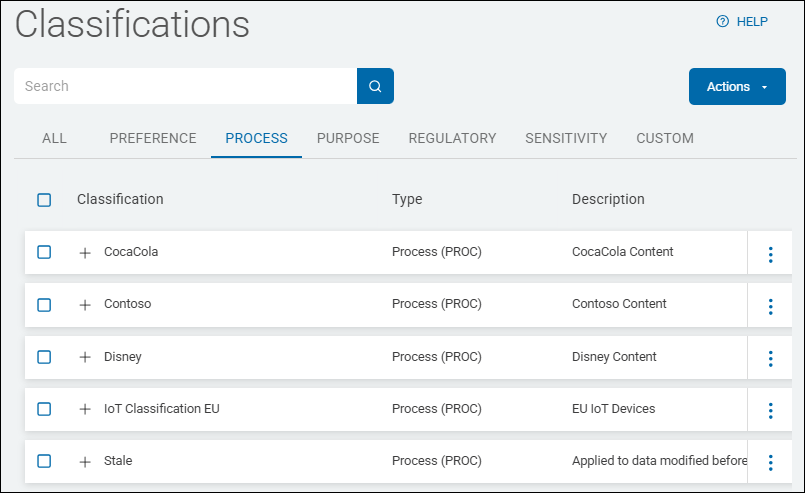
PROC - Process
-
HR processing PII of candidates and employees
-
Marketing team processing PII of potential and existing customer
-
PII for order processing
-
-
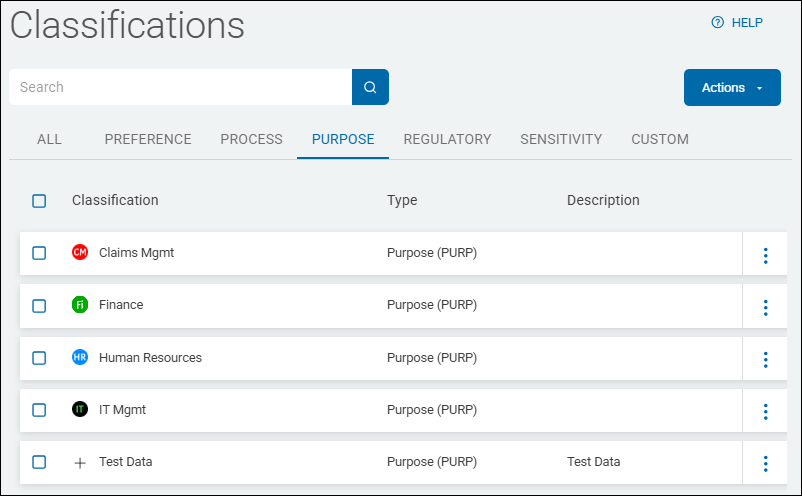
PURP - Purpose
-
Departments such as HR, Finance, IT Mgmt, etc.
-
Can also contain RegEx such as: ABA RegEx, CCN RegEx, IPV4 RegEx, etc.
-
PII for data analytics
-
PII bought or sold to third parties
-
PII associated with research
-
-
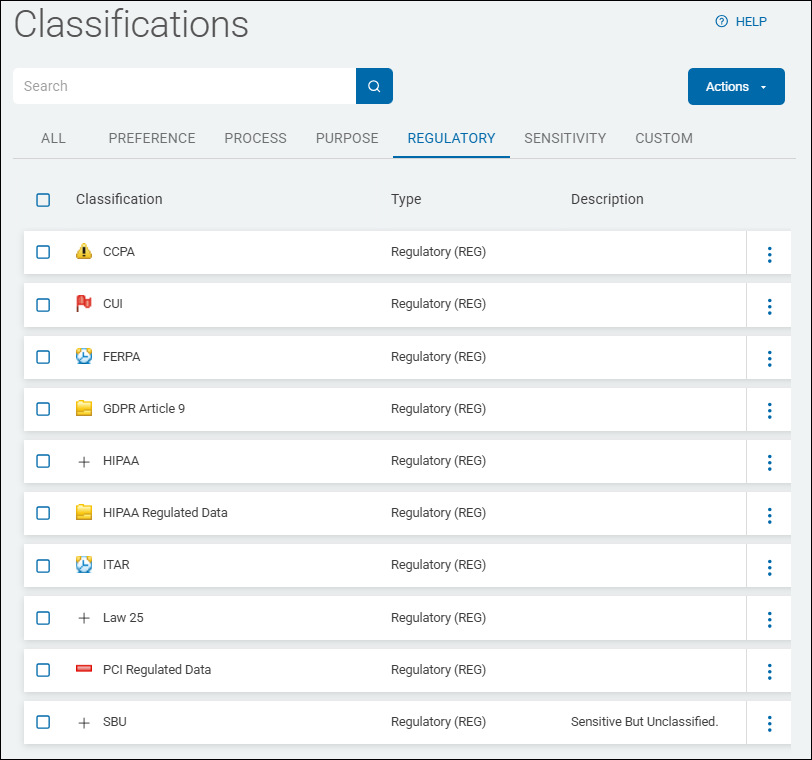
REG - Regulatory
-
PCIDSS: PCI DSS data
-
GDPR data
-
HIPPA data
-
-
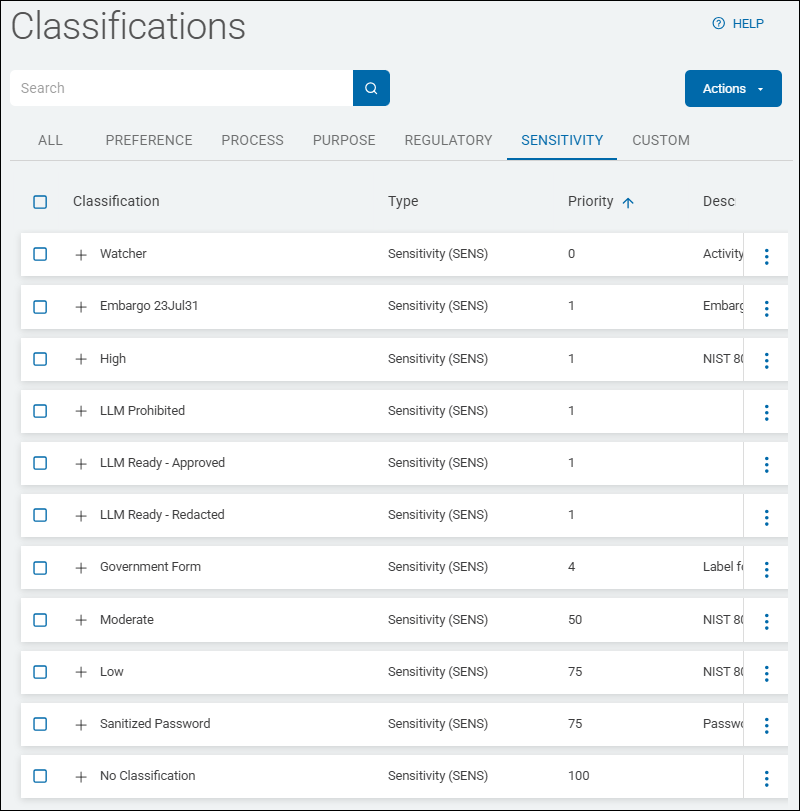
SENS - Sensitivity
-
Social security numbers (SSN), Credit card numbers (CCN), etc.
-
SENS-Confidential
-
SENS-Public
-
SENS-Top Secret
-
SENS-None
-
-
CUSTOM
-
User-defined classifications
-
-
-
Priority - Assigned priority (number) of Classification
-
Description - Description of Classification
-
UUID/GUID - Universally Unique Identifier or Globally Unique Identifier
-
More options - Edit and Delete actions available
-
Classification Type Examples
See below for examples of the following Classification types:
-
LEGA - Legacy
-
PREF - Preference
-
PROC - Process
-
PURP - Purpose
-
REG - Regulatory
-
SENS - Sensitivity
-
CUSTOM
LEGA - Legacy Example
PREF - Preference Example

PROC - Process Example
PURP - Purpose Example
REG - Regulatory Example
SENS - Sensitivity Example
CUSTOM Example
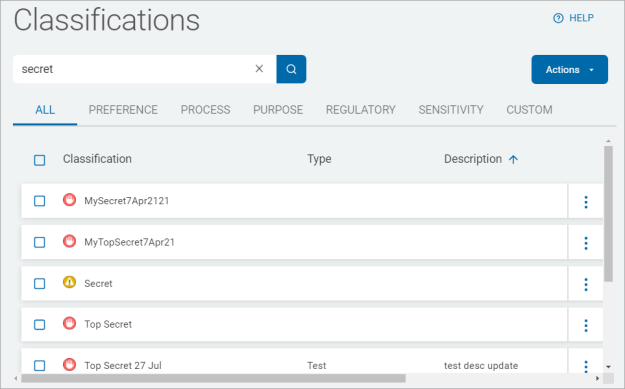
How to Search for a Classification
To search for a Classification:
-
Type a criteria in the search box.
-
The results are displayed in the list below.
-
Click the x to clear the criteria.
How to Create a New Classification
To create a new Classification use the following steps:
-
Click the Actions button in the top right corner of the Global Classifications page..

-
Click Add New.
-
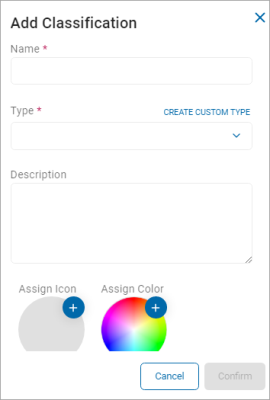
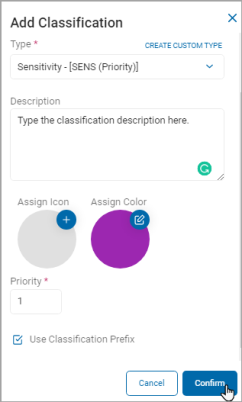
In the Add Classification pop-up window, fill in the following:
-
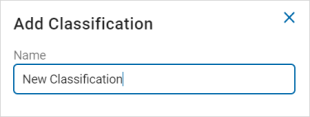
Name: Type the name of the new Classification.
-
Type: Select the type of classification.
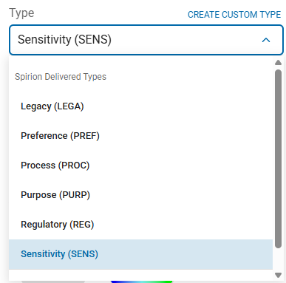
-
(Optional) Create Custom Type
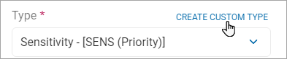
-
Click Create Custom Type to create personalized classification types.
-
In the Create Custom Classification Type pop-up window, type the custom type classification.
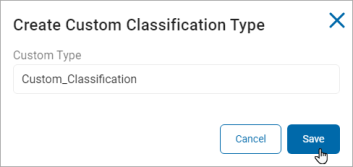
-
Click Save.
-
-
Description: Type a description for the classification.
-
Assign Icon: Click the plus icon and select an icon from your local computer that acts as a visual representation of the Classification Type.
-
Note: An icon file (.ico) can only be used for one Classification at a time.
-
Example: Below the Secret classification is shown.

-
-
Assign Color:
-
Select a color from the array by clicking a preset color tile, dragging the slider bar to your color choice, or manually setting the color values in the number boxes.

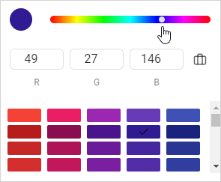
-
Click the suitcase icon to change color format.
Available types include:-
RBG
-
HSL
-
HEX

-
-
-
Click OK to apply the color or Cancel to discard.

-
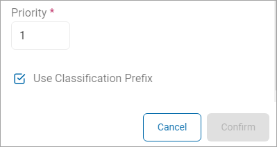
Priority: Prioritize the sensitivity based classification applied to a location.
-
Use Classification Prefix: Select the check box to add the Classification prefix.
-
Click Confirm to create the new Classification or Cancel to discard.
This field only appears when you select the Sensitivity (SENS) Classification type.
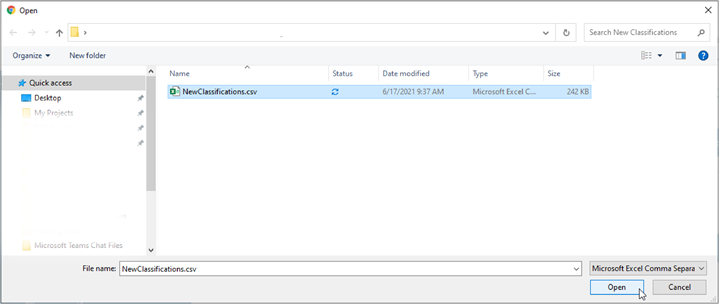
How to Import Classifications
To import a Classification use the following steps:
-
Click Actions.
-
Click Import.

-
Locate the new Classification file (.csv) on your local computer.
-
Click Open to upload.
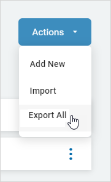
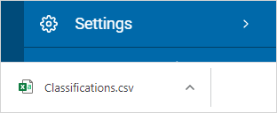
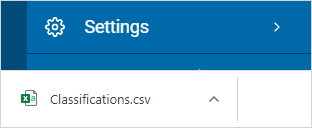
How to Export Classifications
To export your Classifications:
-
Click Actions.
-
Click Export All.
-
The .csv file is downloaded to your local computer.
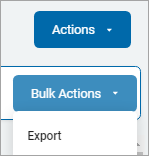
How to Bulk Export Classifications
To bulk export selected Classifications:
-
Select one or more classifications.
-
Click Bulk Actions.
-
Select Export .
-
-
The .csv file is downloaded to your local computer.
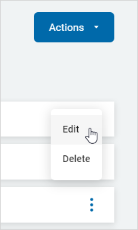
How to Edit a Classification
To edit a Classification:
-
Locate the Classification you want to edit in the list.
-
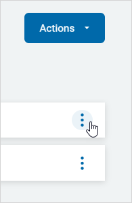
On the far right of the Classification's row, click the more options icon.

-
Click Edit.
-
In the Edit Classification pop-up window, make needed changes.
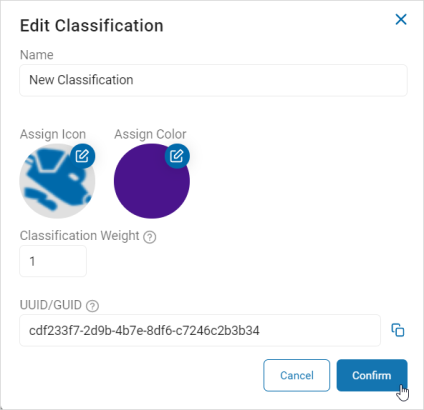
-
Click the Confirm button to save the changes or Cancel to discard.
How to Delete a Classification
To delete a Classification:
-
Locate the Classification you want to edit in the list.
-
On the far right of the Classification's row, click the more options icon.
-
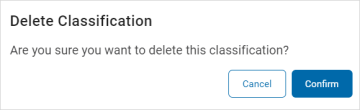
Click Delete.

-
In the Delete Classification pop-up window, click Confirm to delete the Classification or Cancel to discard.
MPIP Classification Exception
Classifications do not show in Windows Explorer if a file has been MPIP-protected.